...a miniature masterpiece for your mantelpiece
Welcome to Quernus Crafts
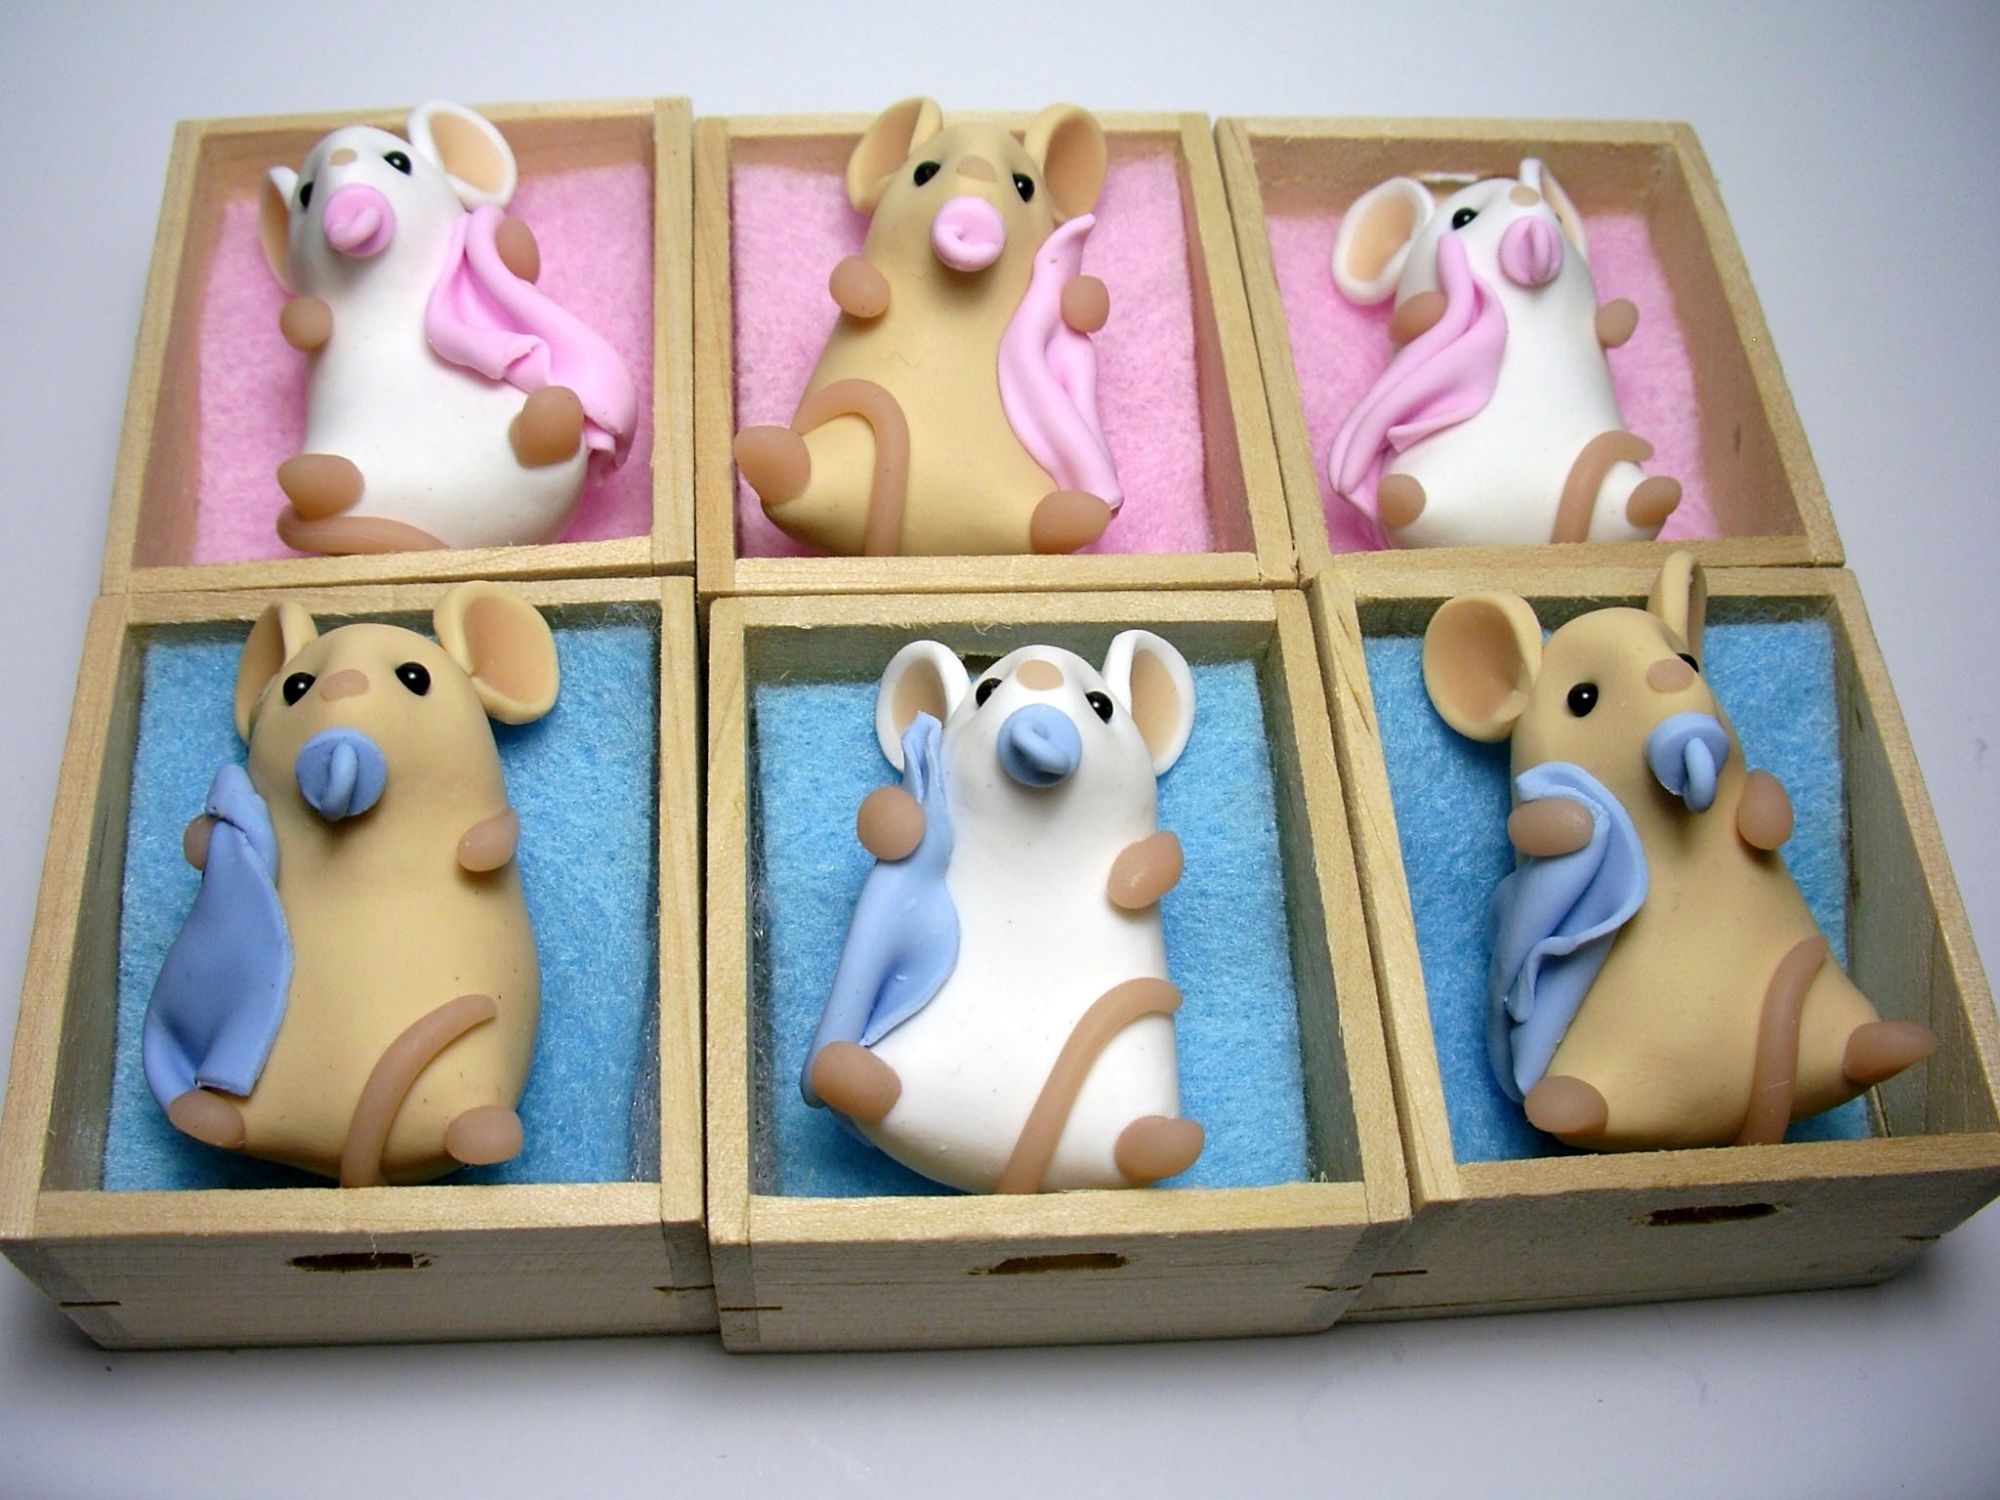
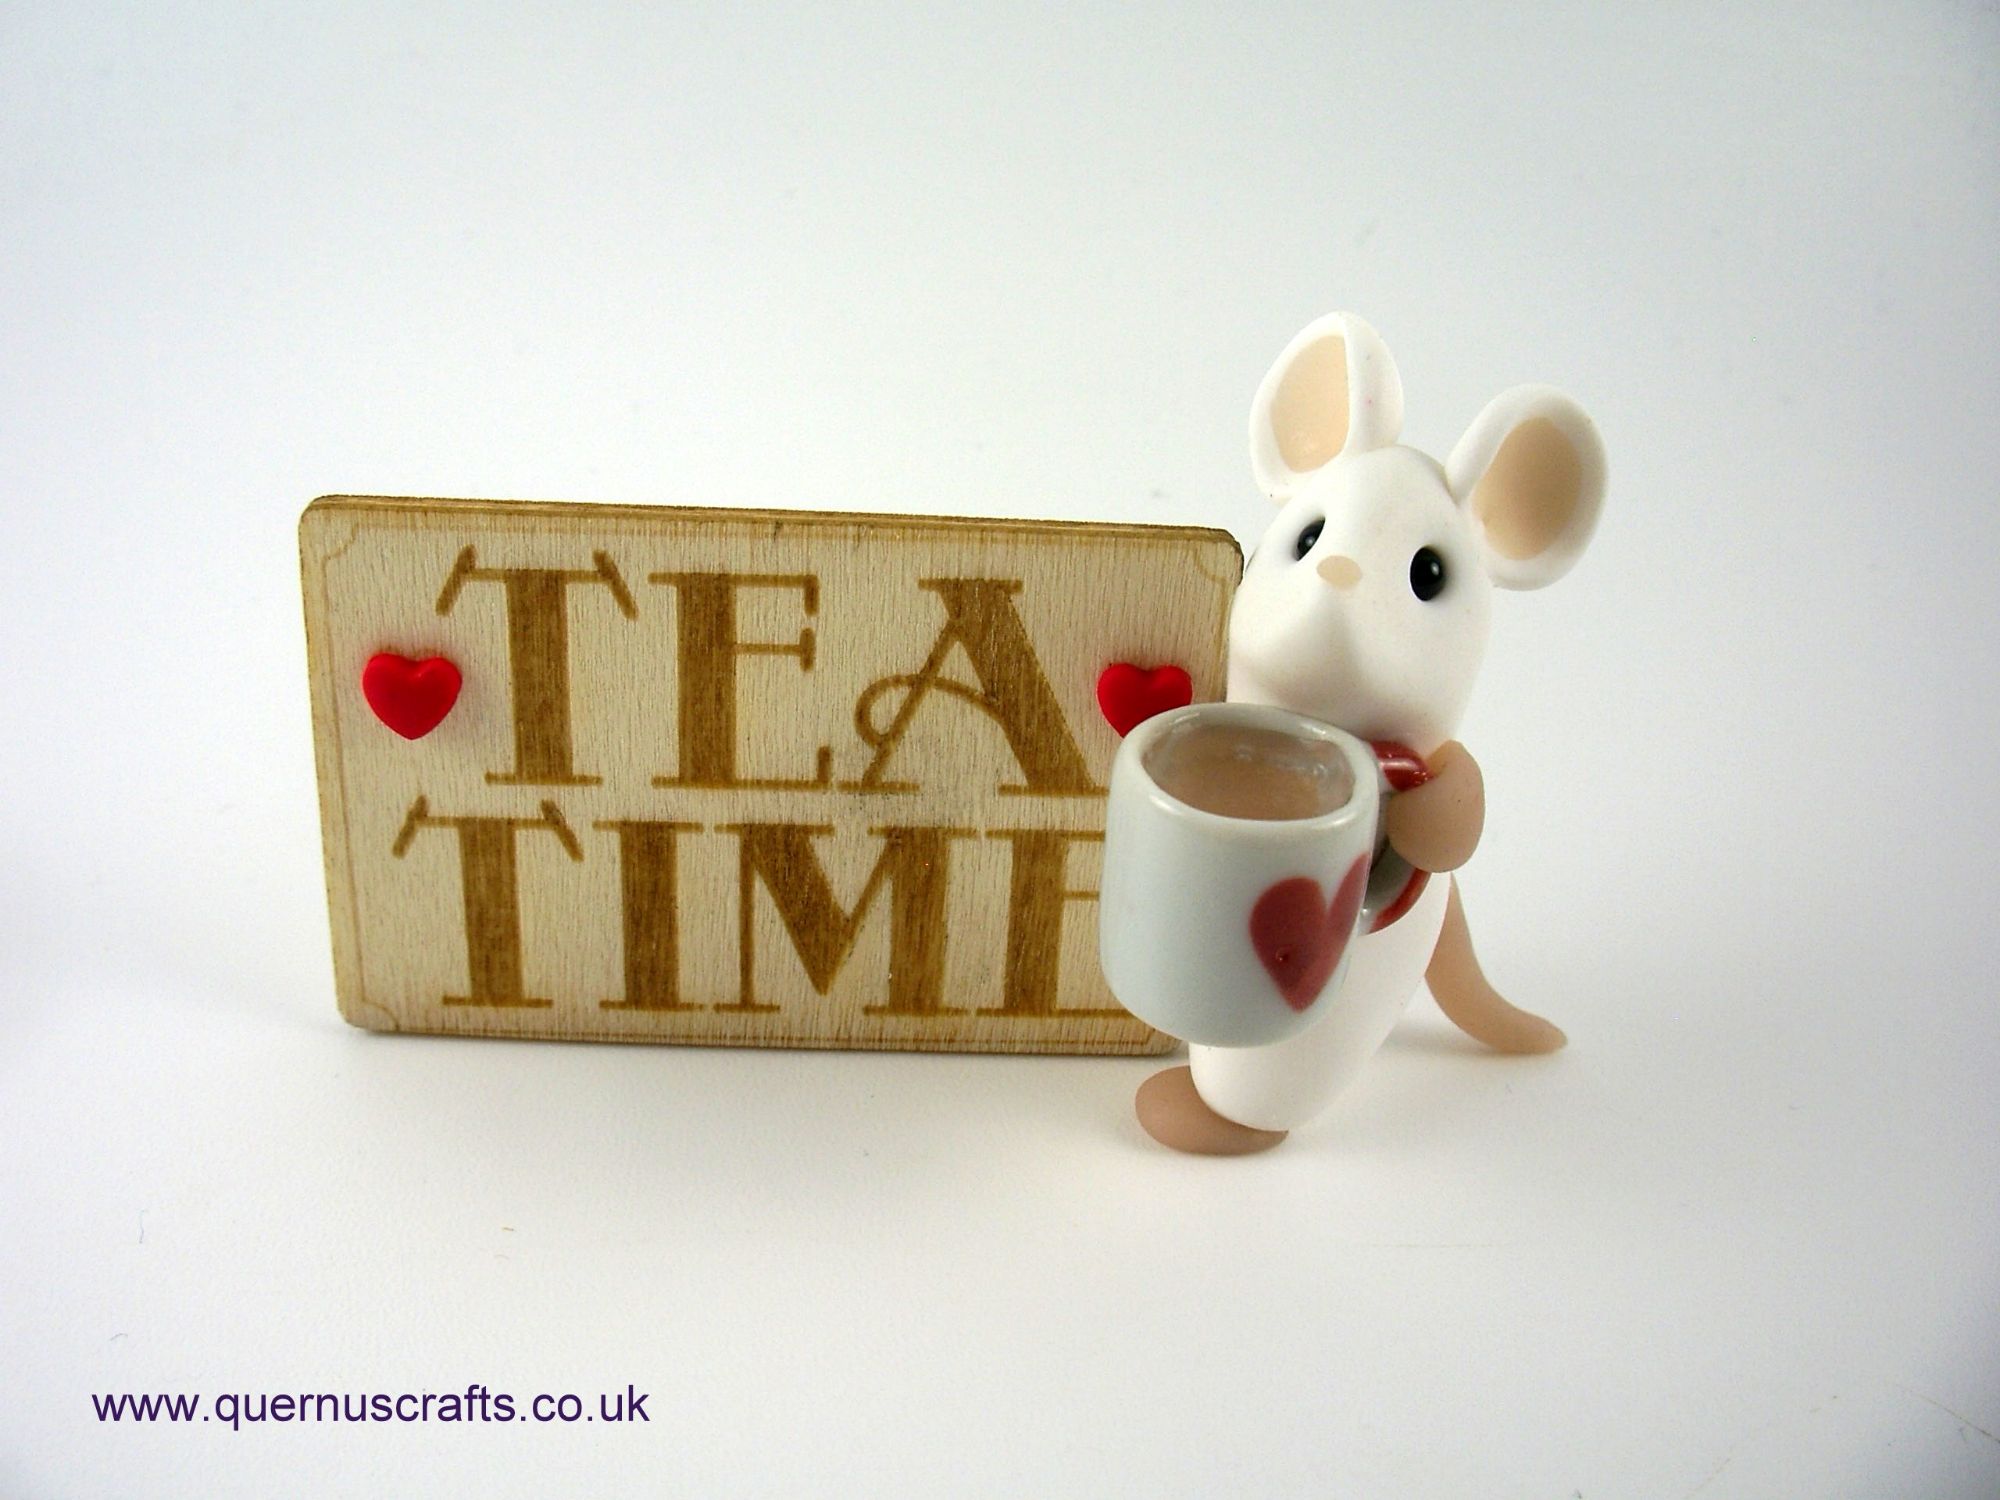
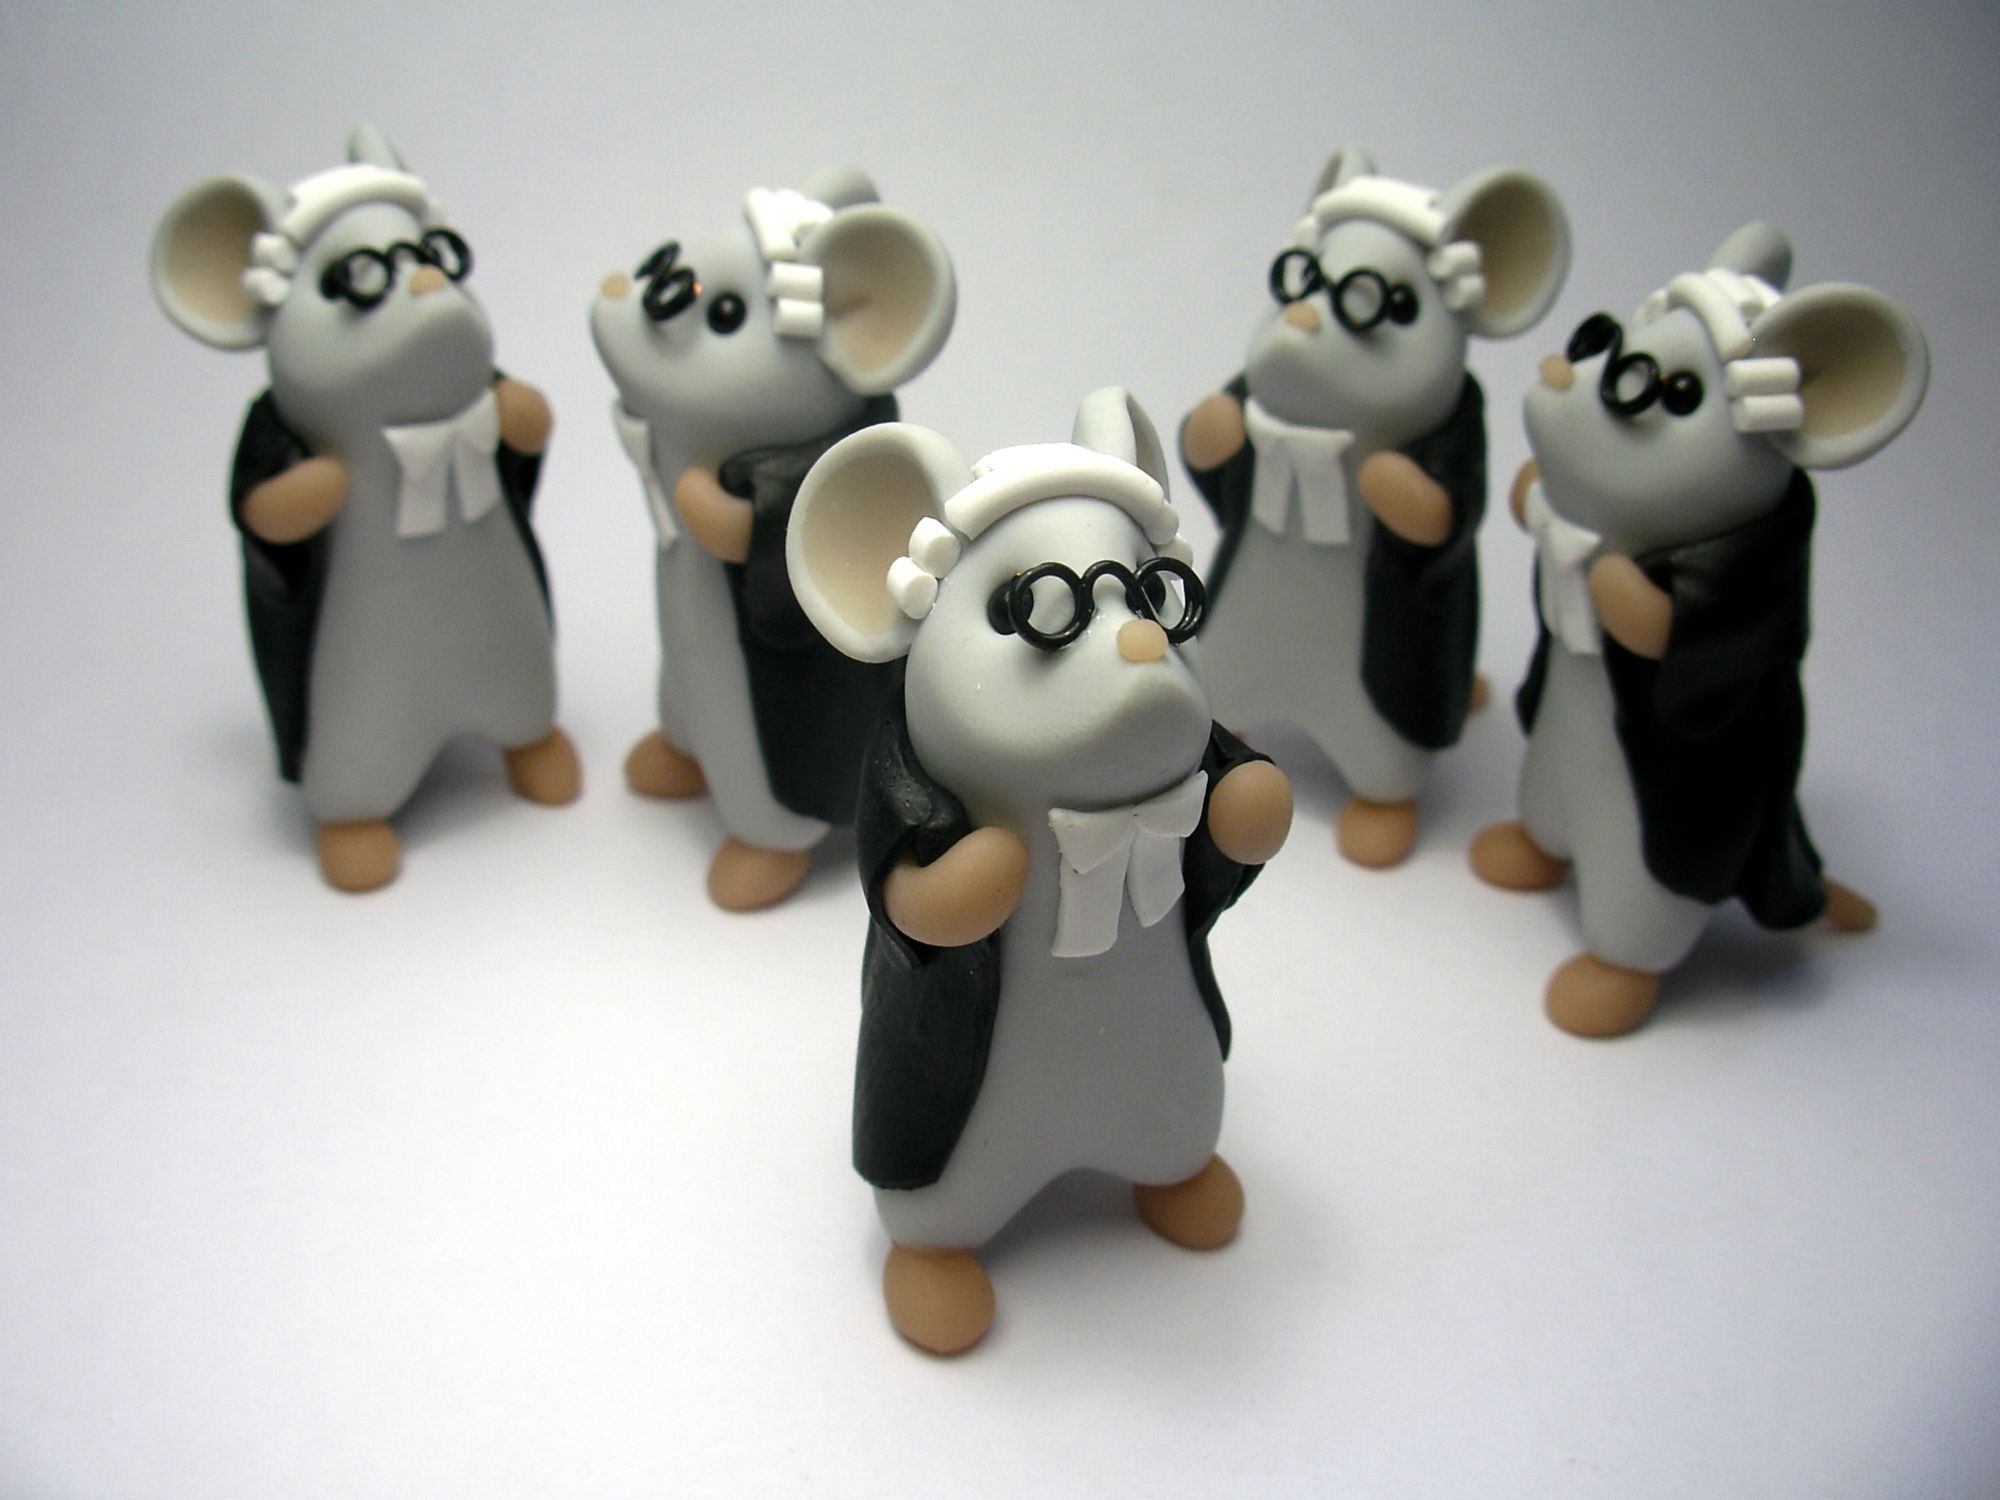
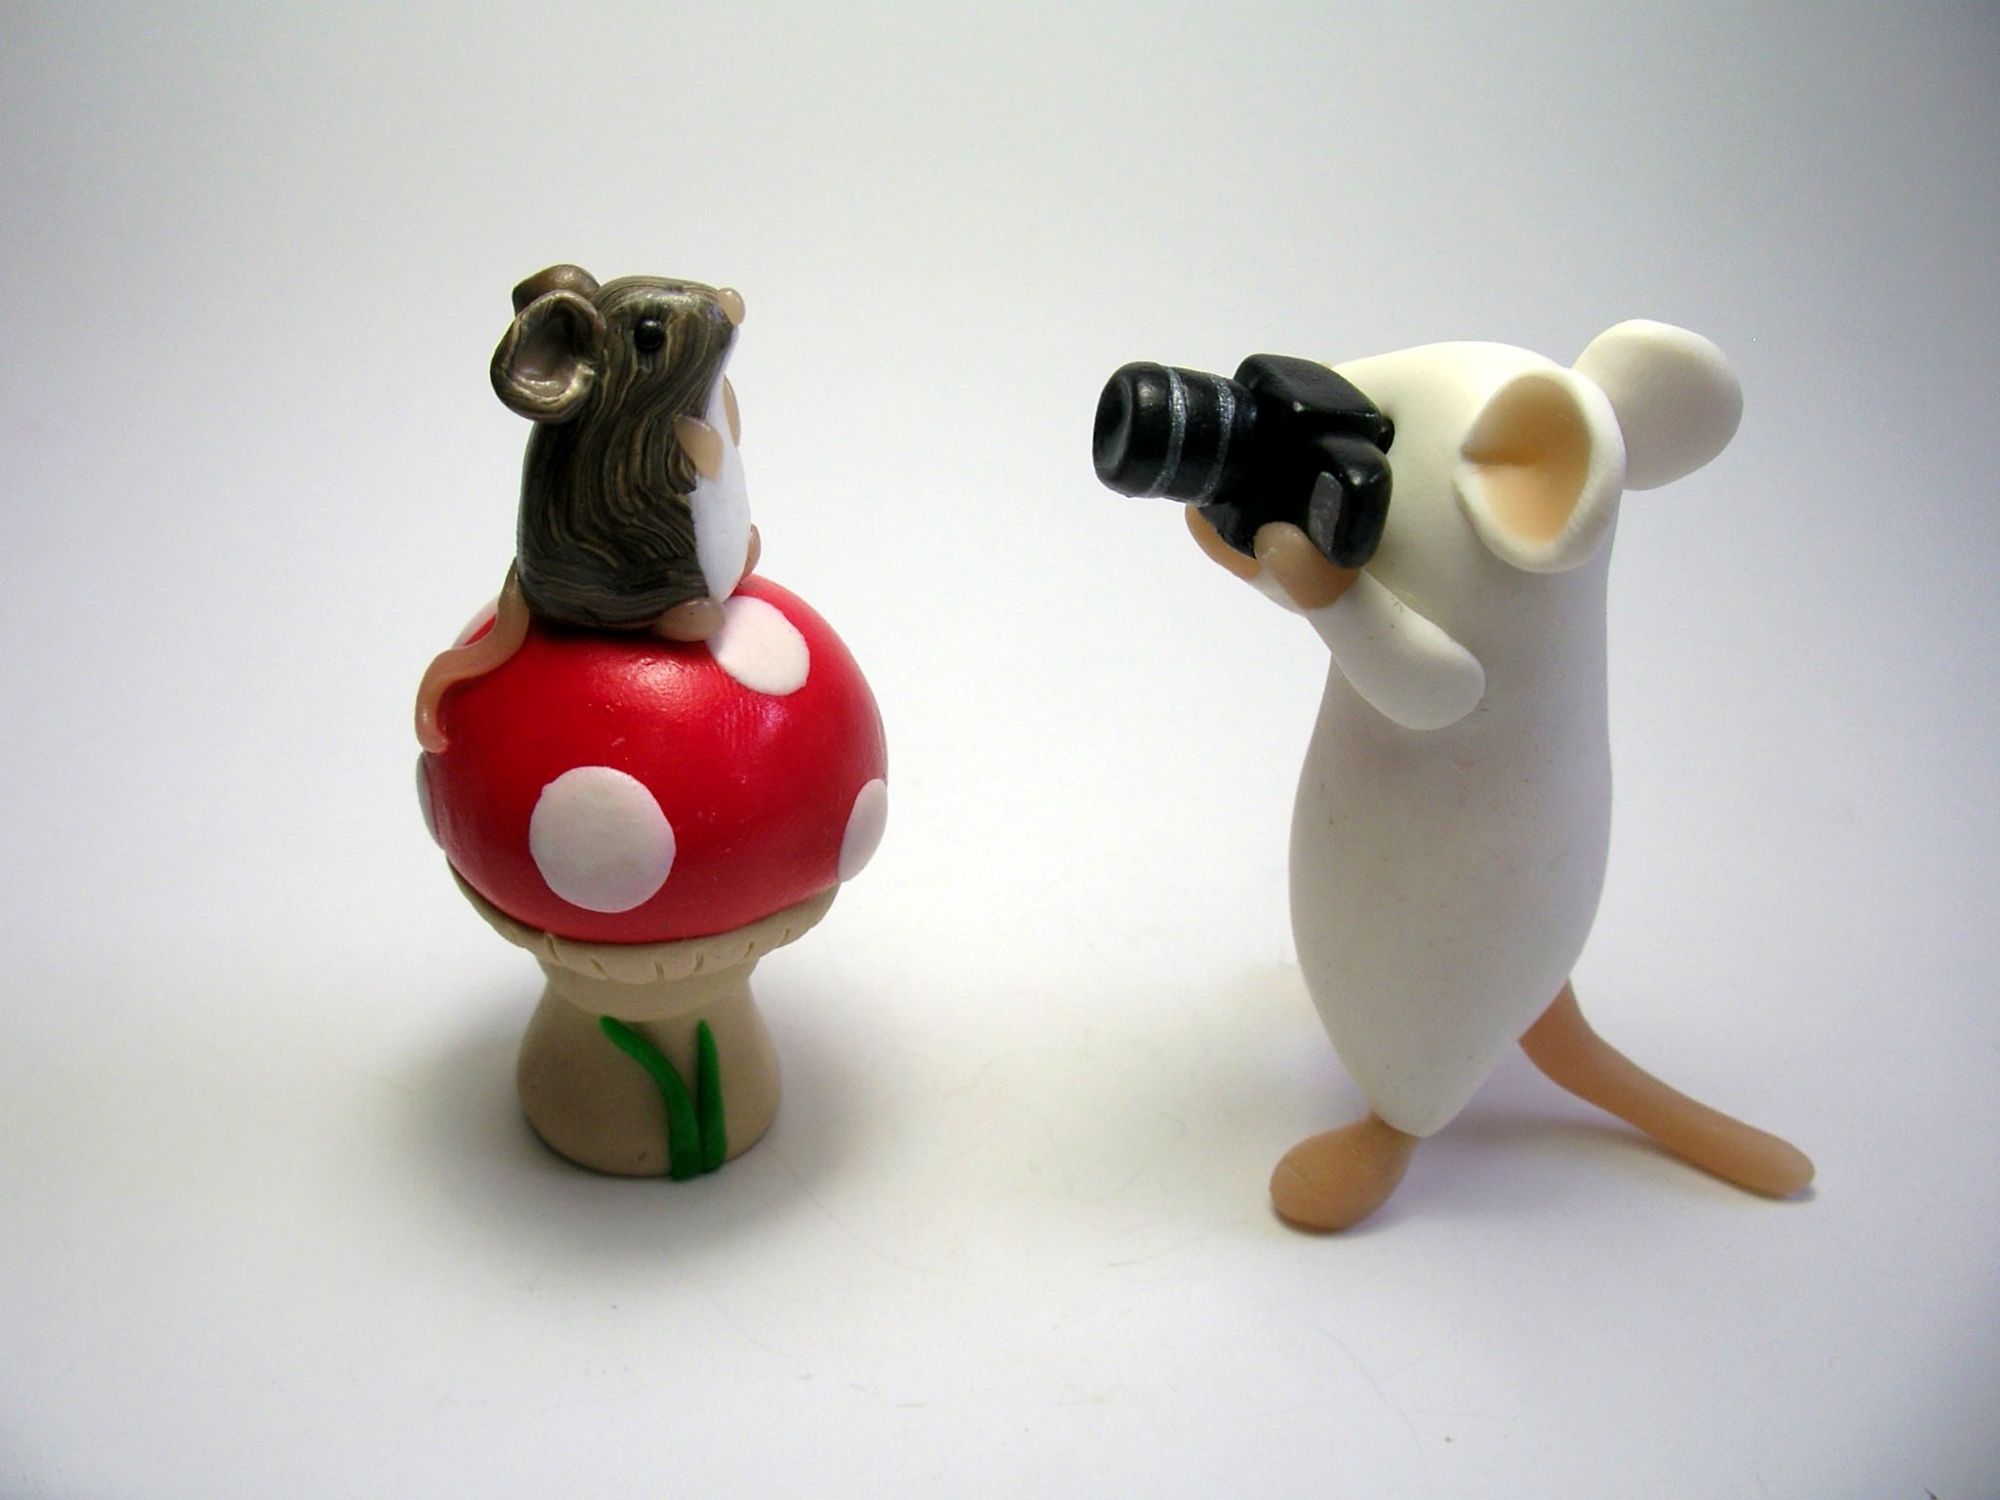
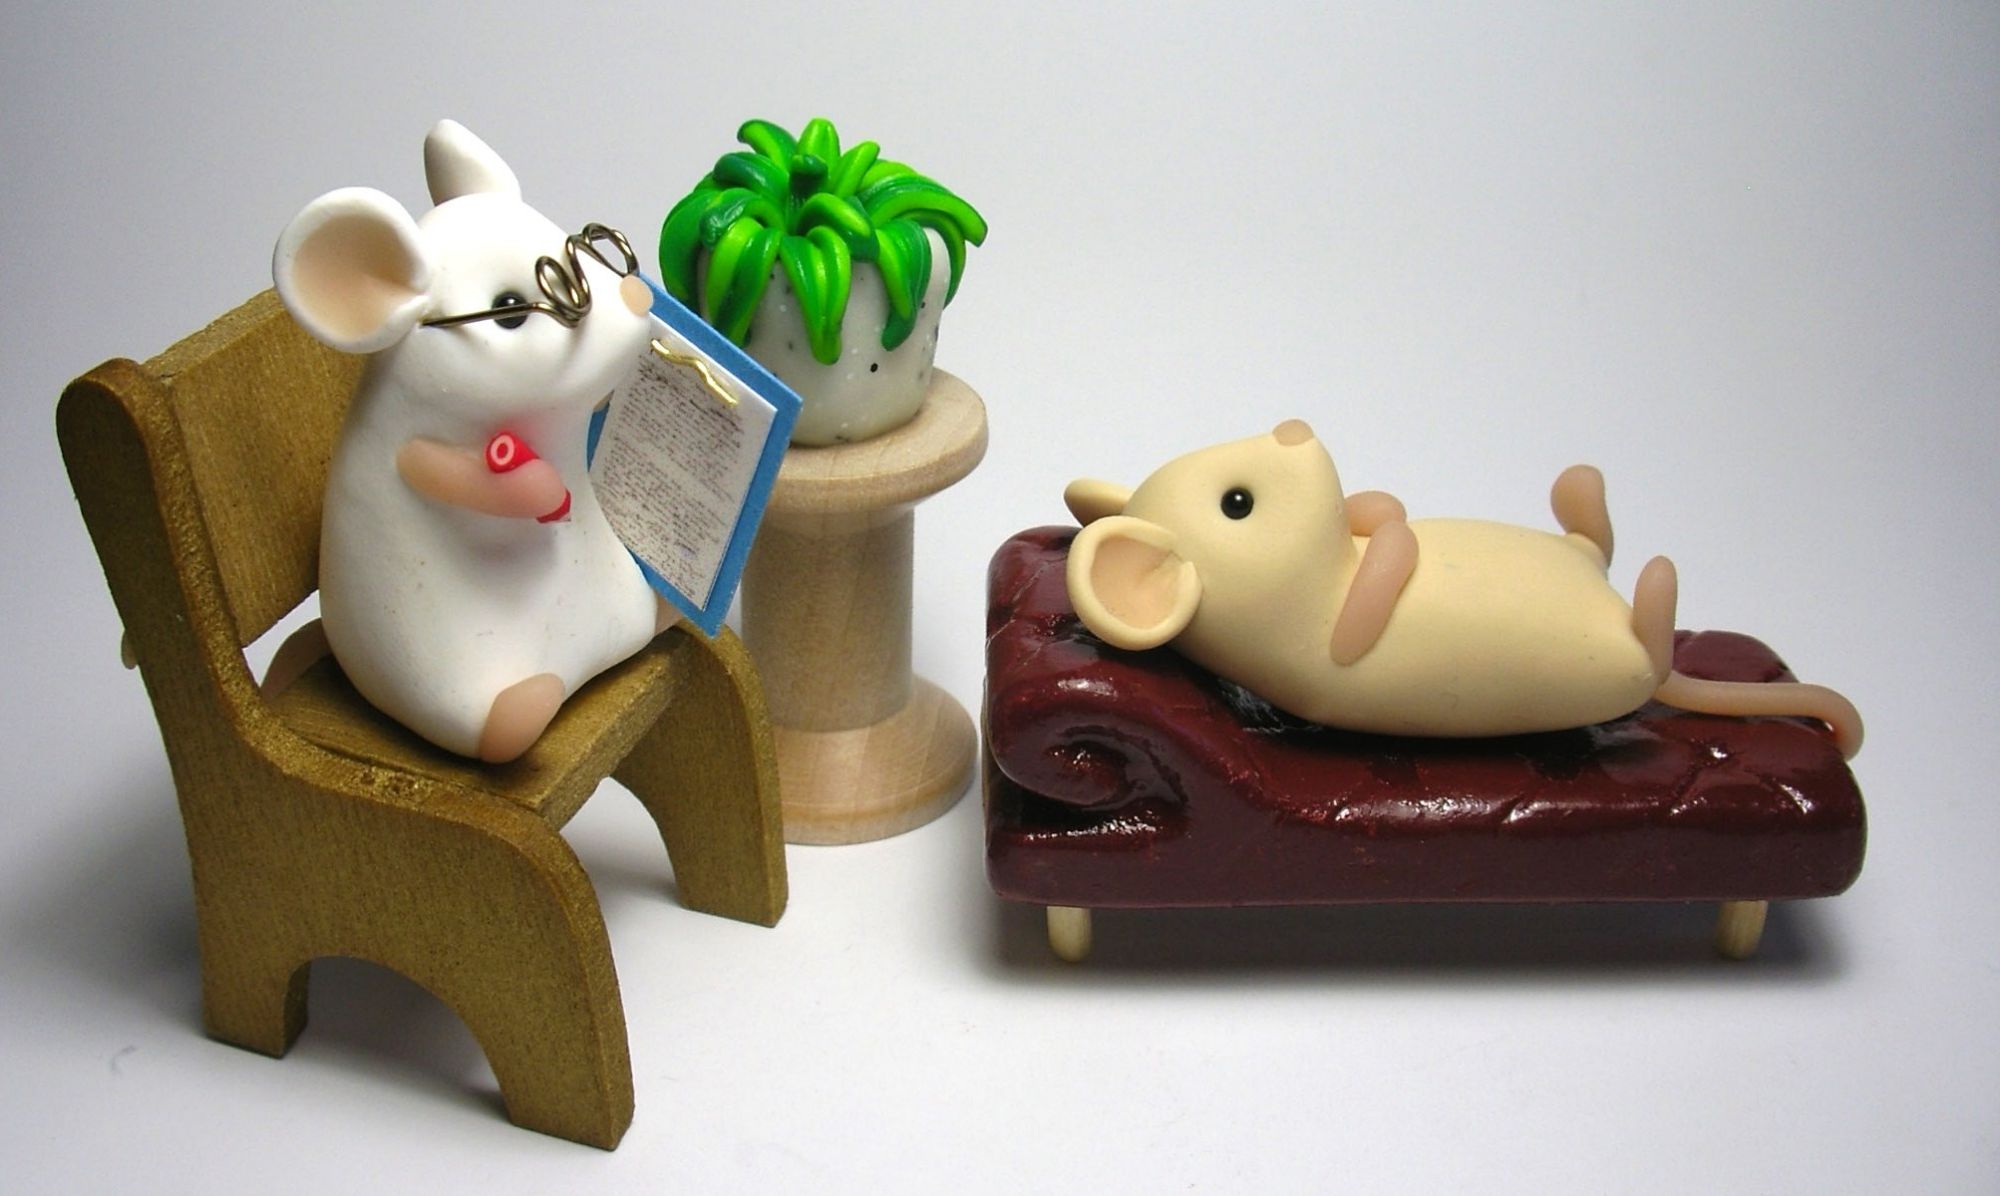
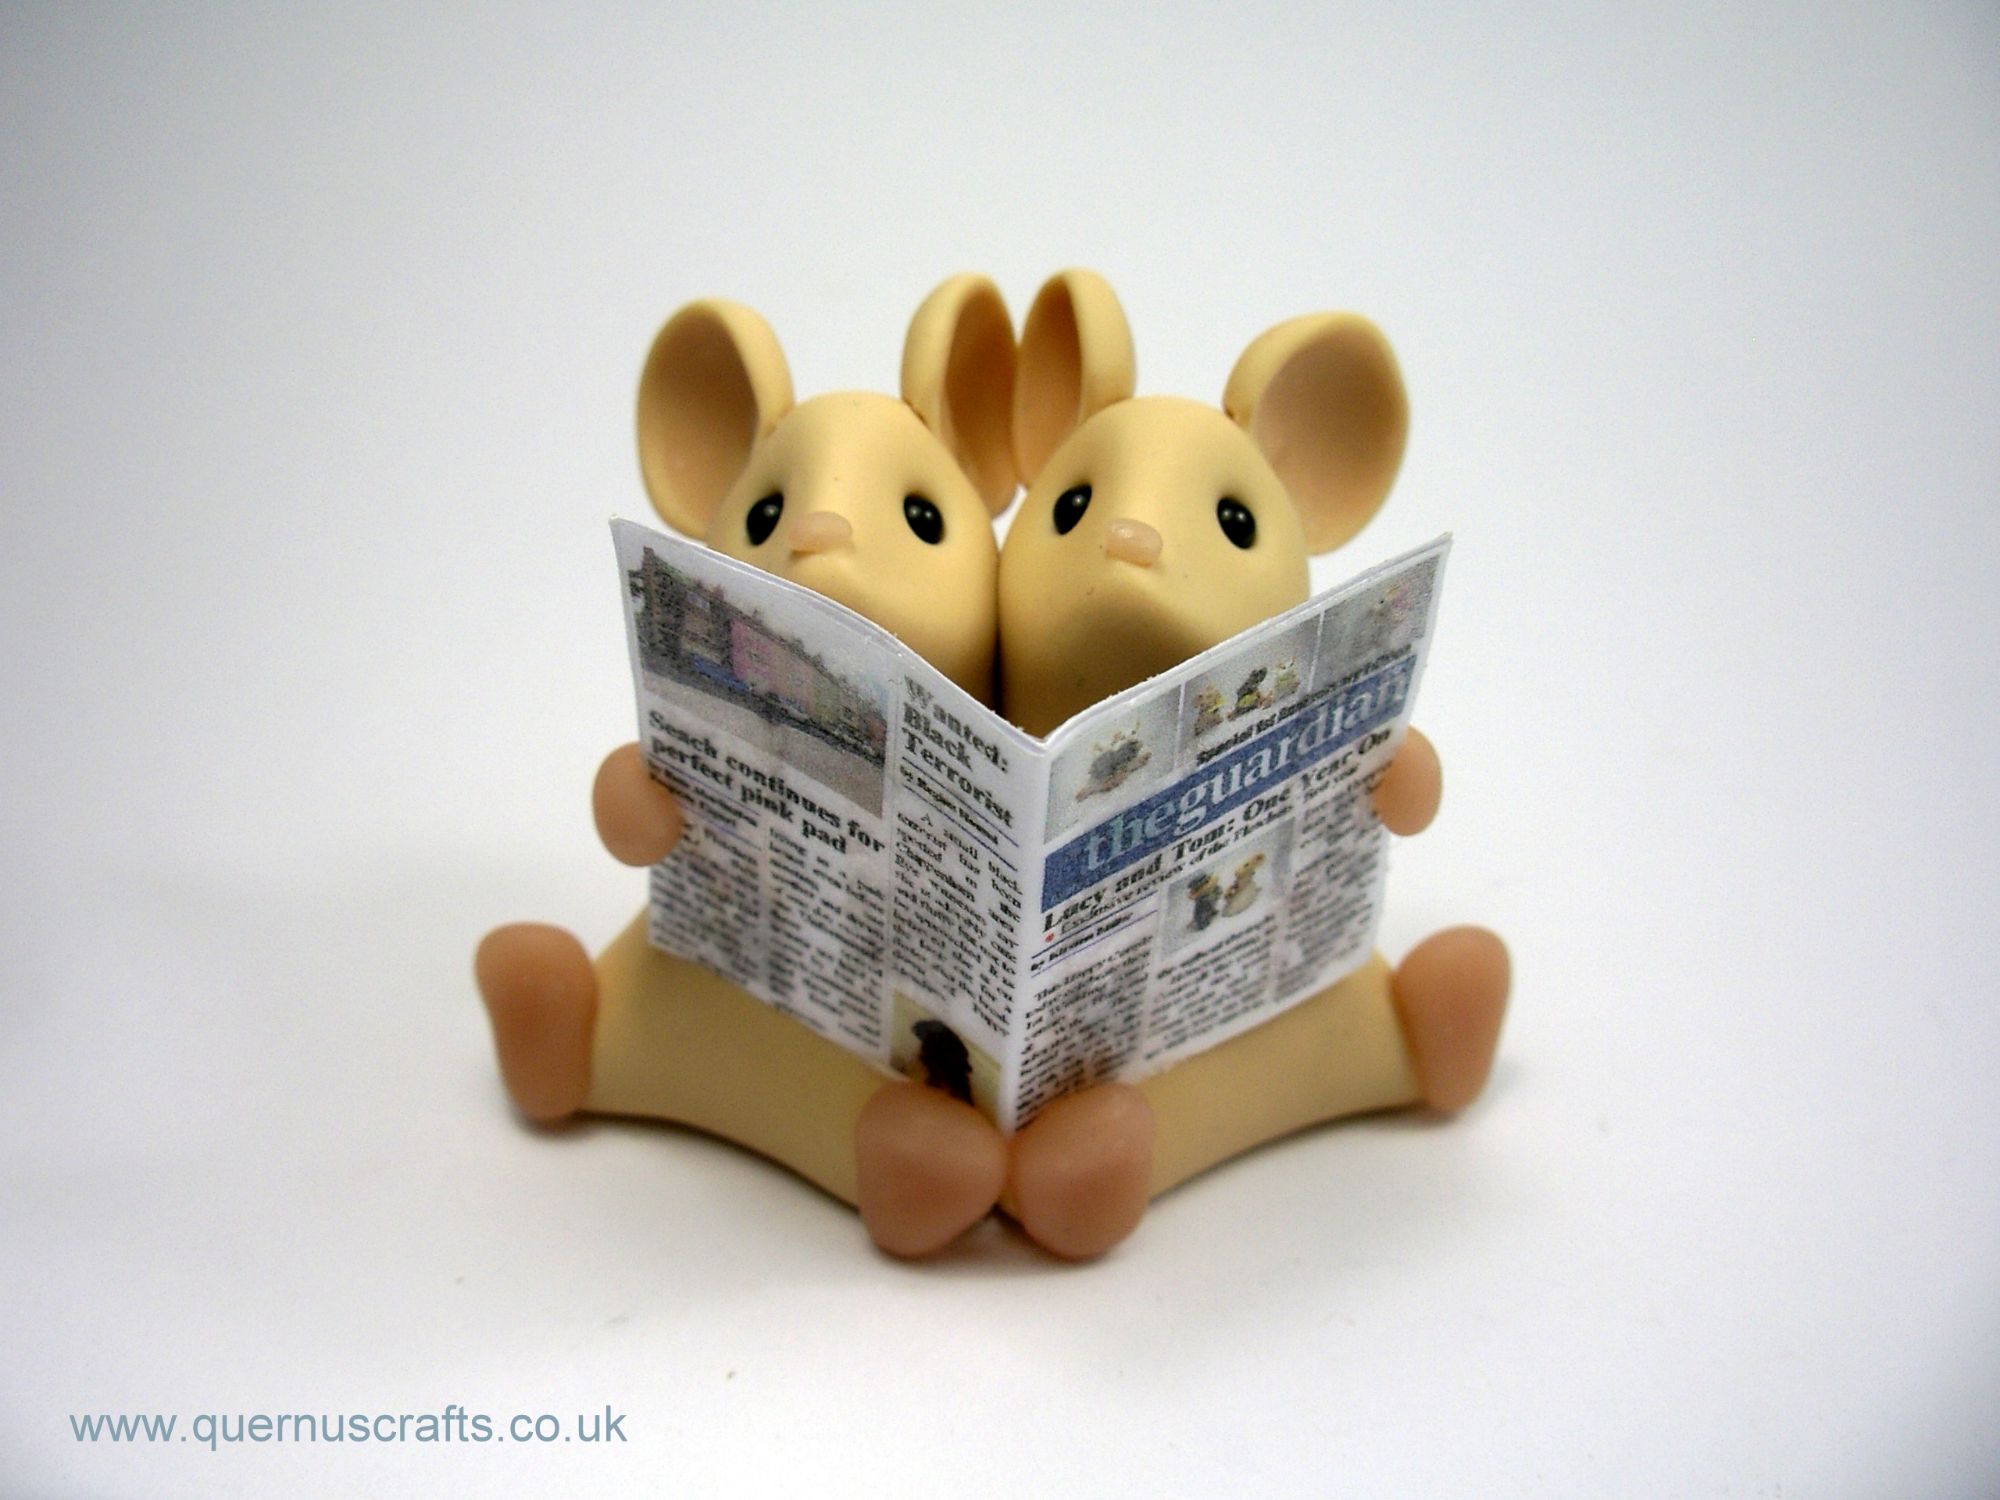
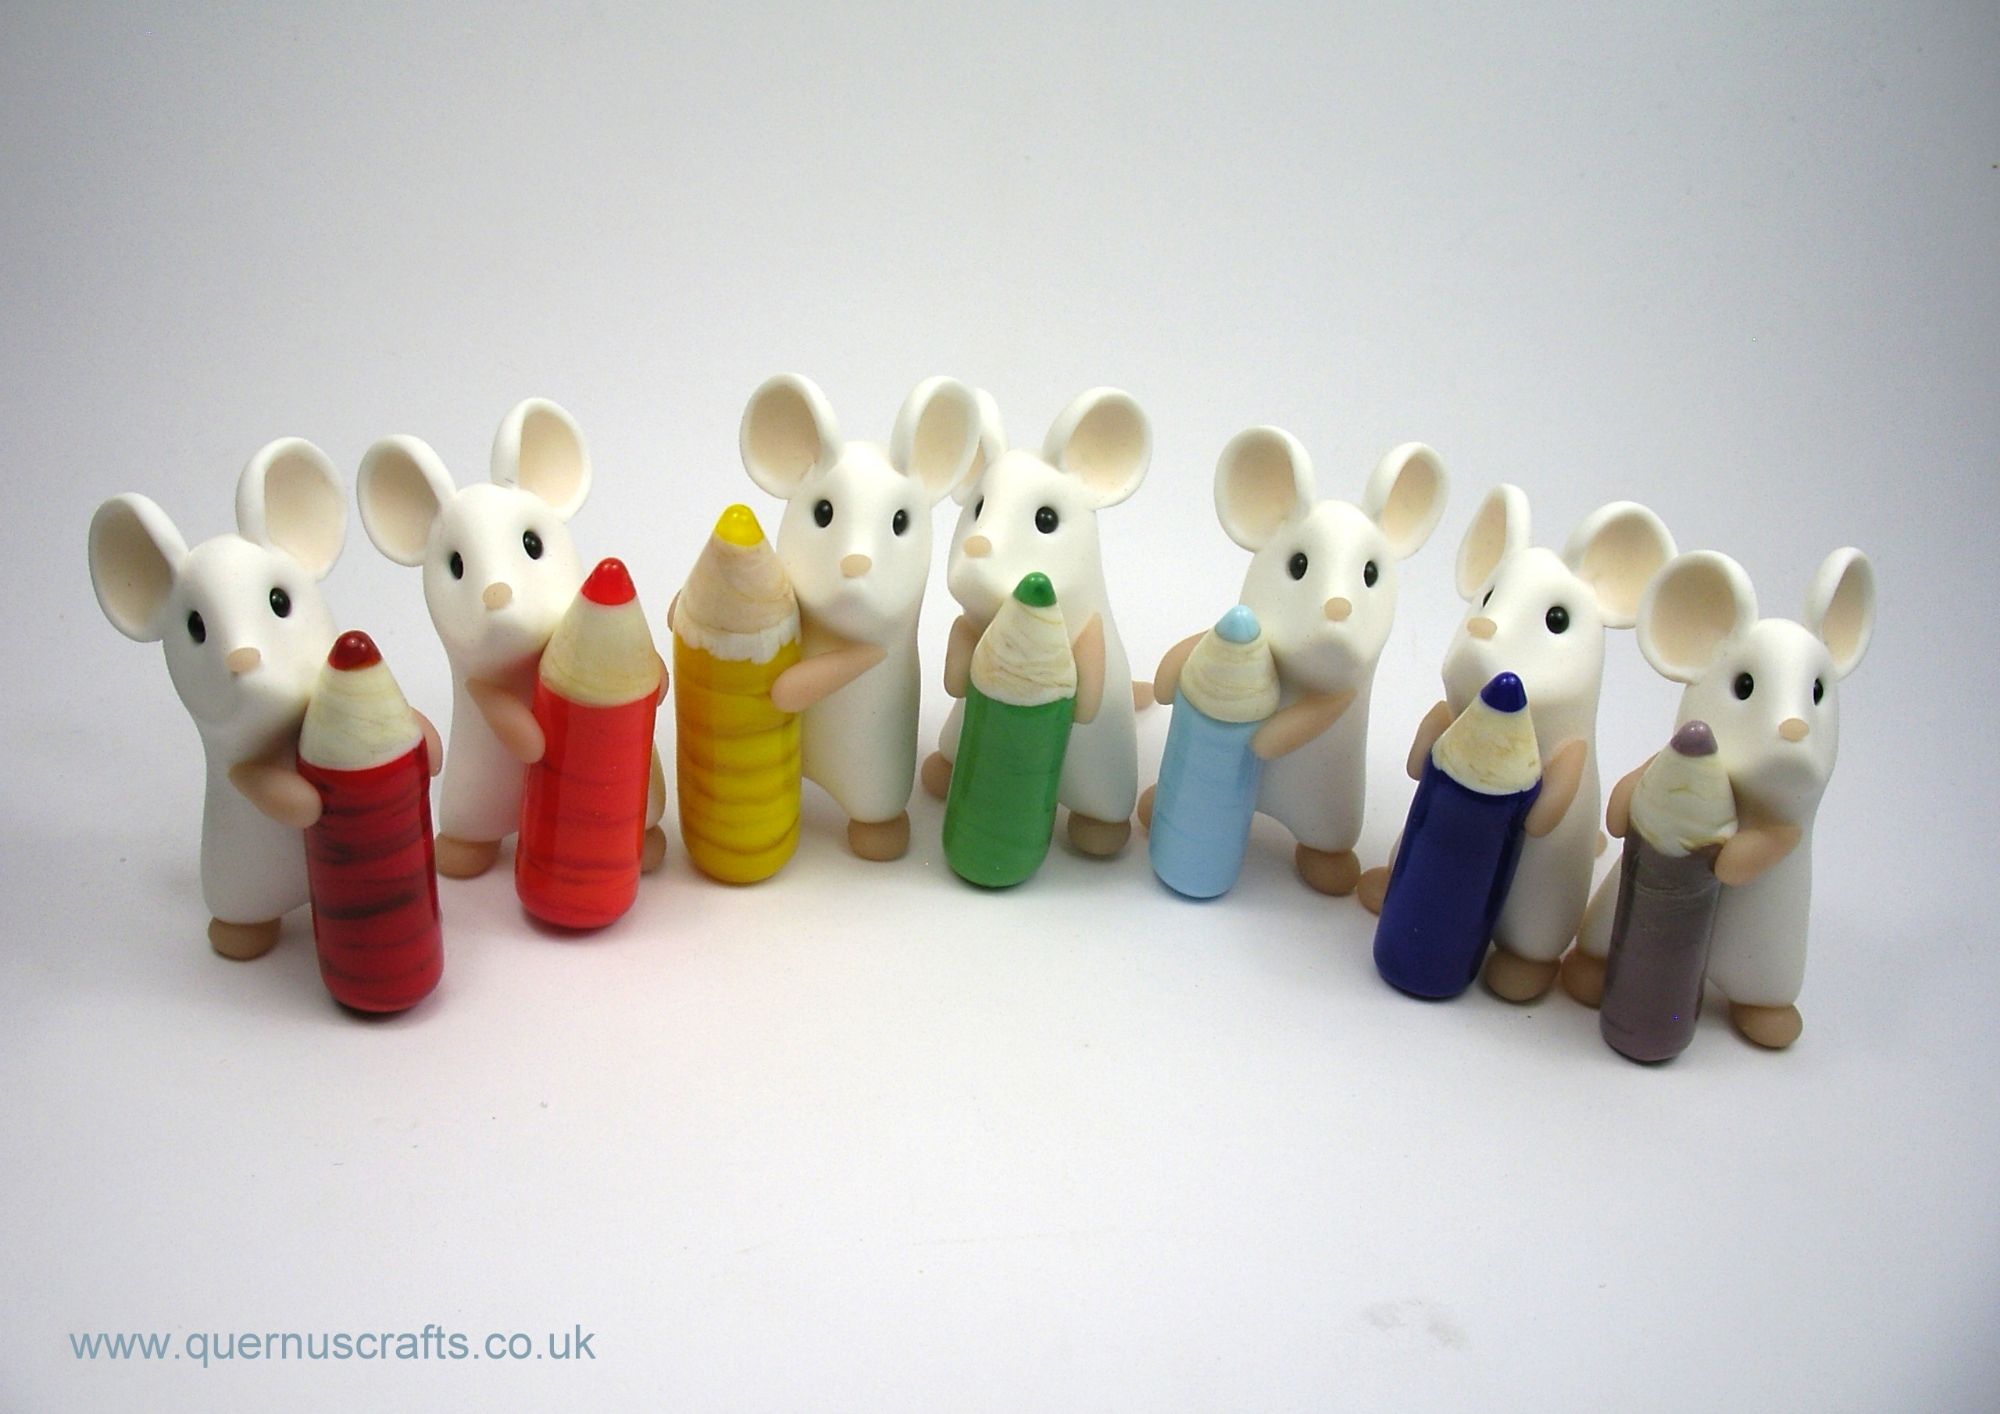
The home of cute polymer clay animal sculptures
Kirsten Miller (now Mrs Flores!) is a polymer clay artist whose "wee creatures" are collected all over the world. Since 2009. she has explored the world of whimsical cuteness, making thousands of wee creatures of every kind (although the mice do tend to feature quite prominently). Perfect as a special gift or memento, the wee creatures have become highly sought-after, and are always in great demand.